

Pr-request for Ruby on Rails tutorials
- Install linux Operating-System from here .
- Install RVM , Ruby and Rails from here.
- Go through our previous tutorial introduction to rails.
In my previous post I discussed about Rails framework and now we will start from basics of rails. In these series of ruby on rails tutorials, we will make a dynamic web project, we will discuss about that in our future posts. We will also post video tutorial with it for your convenience. Let’s start from creating new project in Ruby on Rails. Follow the steps below:
- Open your terminal by using
ctrl+alt+T
- Now make new directory/ folder
mkdir work
- Enter this command to make new rails project
rails new Buffercode -d mysql
Here Buffercode is your project name, and make sure you have Internet connection at that time. rails will install some gem files.
Rails uses sqlite as default database, you can change it later or use -d mysql as option as in above command rails new Buffercode -d mysql - change your directory using cd command
cd Buffercode
- Now Enter below command to install missing gems
bundler or
bundle install
- And now finally run your server using command below
rails server or
rails s
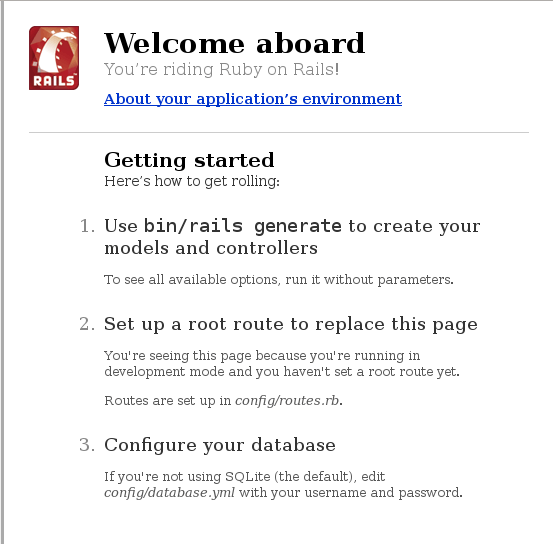
- Now just check it by open your browser and type localhost:3000 , a screen will be open as shown in below image.
Explore what we did by using these simple commands
Open your work directory and you will find a new directory named Buffercode<your project name>. When you will open the directory Buffercode, you will find some new directories and files. You can check it from below image .
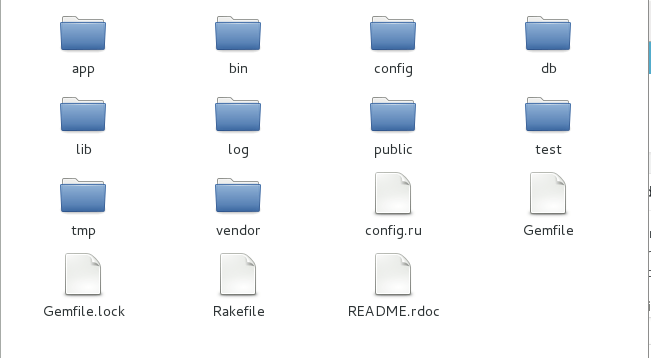
When you will open its first folder named as app, you will find some new folders including controllers, models and views , which shouts that rails is a MVC framework as we told you in our previous tutorial .
Rails accepts incoming requests from a browser, decodes the request to find a controller from controllers and calls an action method in that controller.
The controller then invokes a particular view from views folder to display the result to the user using models which take care of database. Rails takes care of most of the internal plumbing that links all these actions.
| Models | View | Controller | Route |
| Deals with data | Uses for front-end views | Control the actions(uses to write business logics) | Connect view and controller |
Have something to add or still stuck somewhere ?? share it in comments .
Follow us on Facebook, Google Plus and Twitter.


I follow the instuction here, but when I run
$ rails server
it says there is no database buffercode_development.
I think before run
$ rails server
run :
$ bundle exec rake db:create
to make sure the database is being created by rails.
and voila, the app is ready at localhost:3000
CMIIW.
It was my first attempt to Ruby on Rails and under the guidance from Sir Sharma and Vipin, I am able to get this tutorial done. Greatly and deeply appreciate the effort and time spent on guiding me on how to from the beginning until I am able to solve the problem occurred. Again I would like to thanks Buffercode team for making this tutorial and awesome people like Sir Sharma and Vipin to make this happen! Keep it up!
Regarding this tutorial “Ruby On Rails Tutorials : Creating new project in Rails”
This site and the team who are actually running it are soooo much co-operative, they have guided me from first step till i get the solution. very very very impressive Thank you Sir Sharma 🙂
The best people (Y)
Refer to Rails 1st tutorial errors, to solve database connection problems.
Comments are closed.