

QuickBooks with Rails 5: Today, we will learn how to integrate Quickbooks into our new or existing Rails 5 application.
QuickBooks:
QuickBooks is a small accounting Software package develop by Intuit. Quickbooks is one of the best accounting solution for small and medium businesses, which offers on-premises accounting application and cloud based system that accept business payments, pay bills, manage and payroll functions.
Integrate QuickBooks with Rails 5:
To integrate QuickBooks with Rails 5 first we need to and account, open https://developer.intuit.com website.
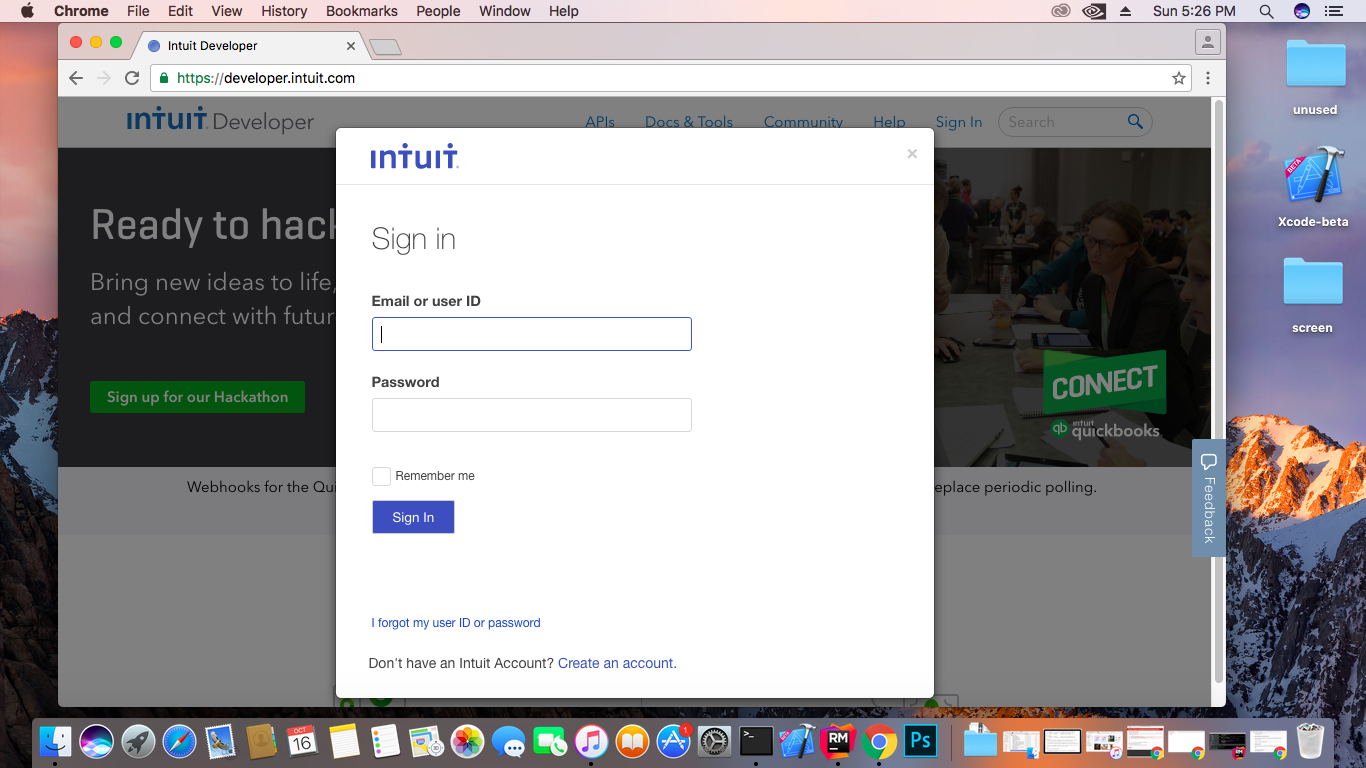
if you have already an account Sign in with your existing account.
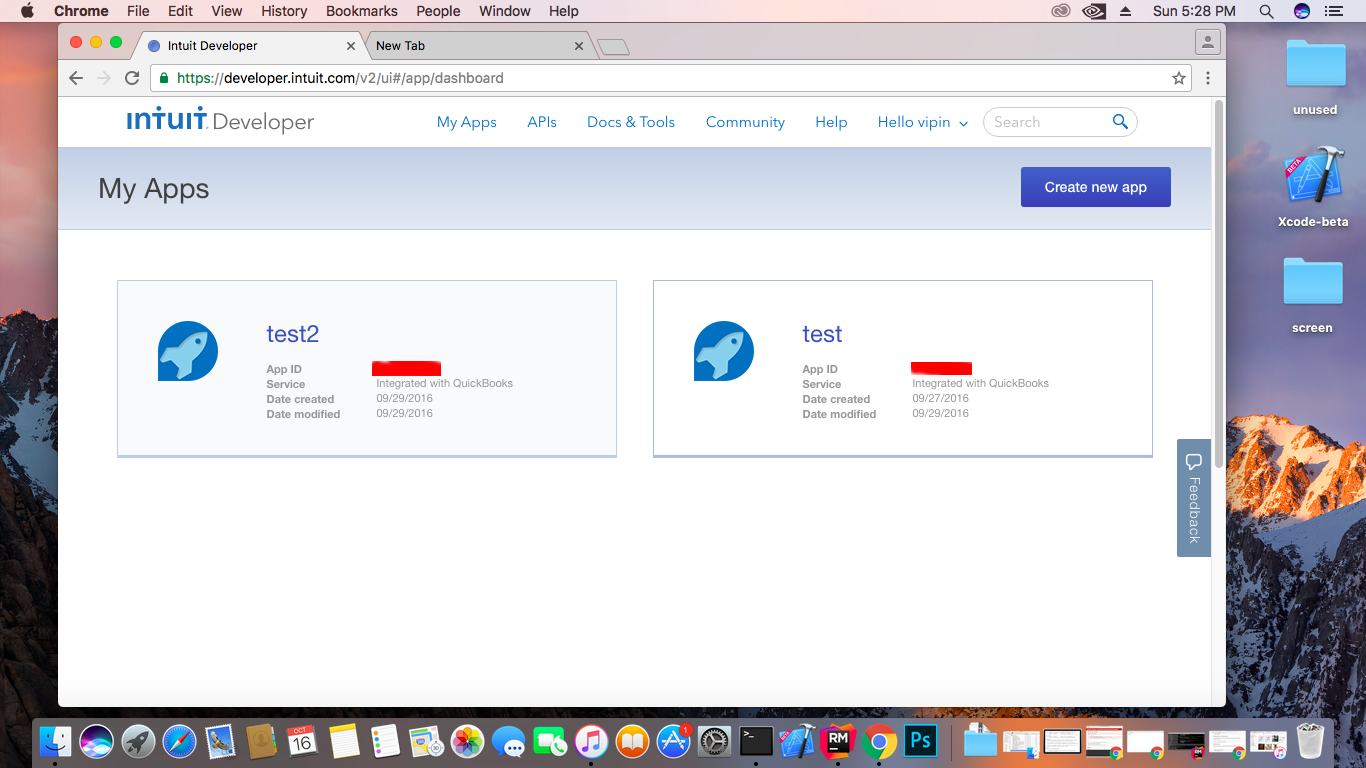
After login we need to make a new app for my application, Just click to Create new App button on to right corner.
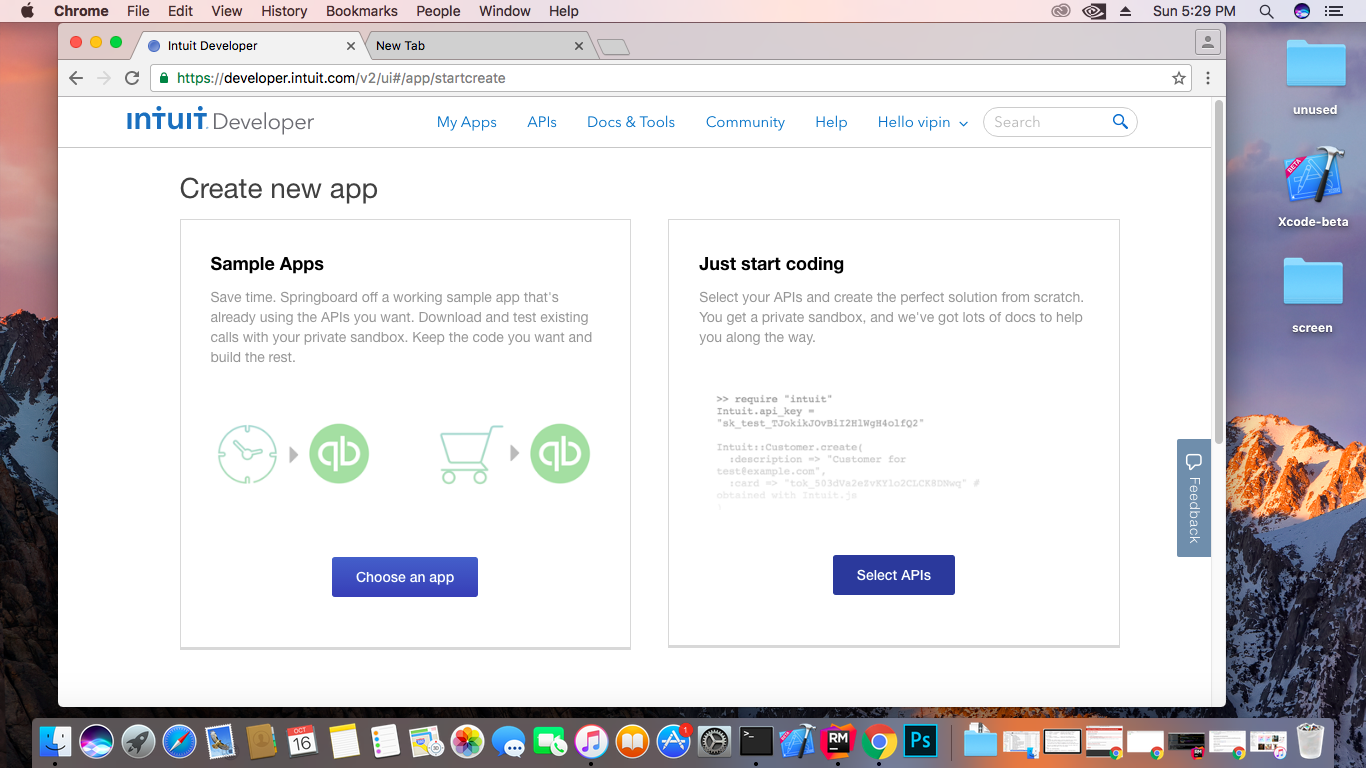
Next you have to click Select API button.
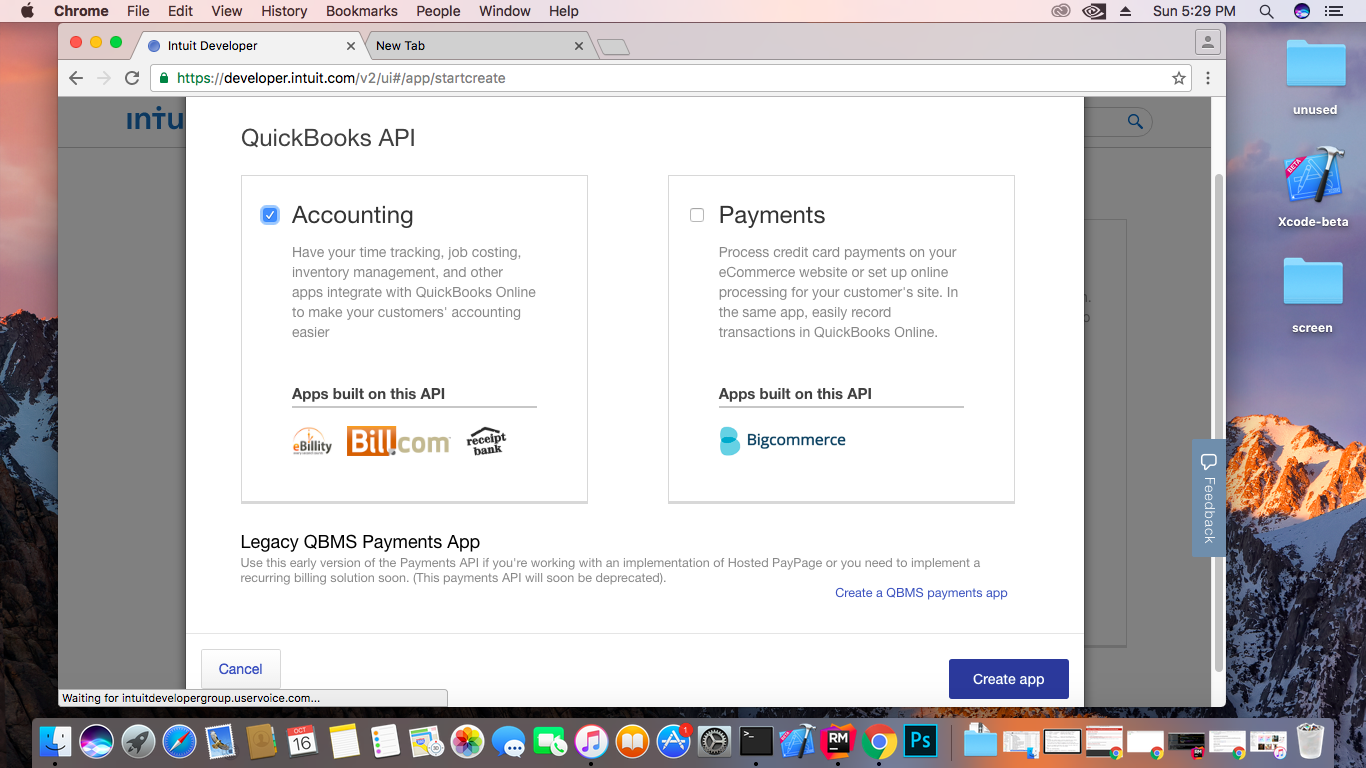
Select Checkbox Accounting and click Create App.
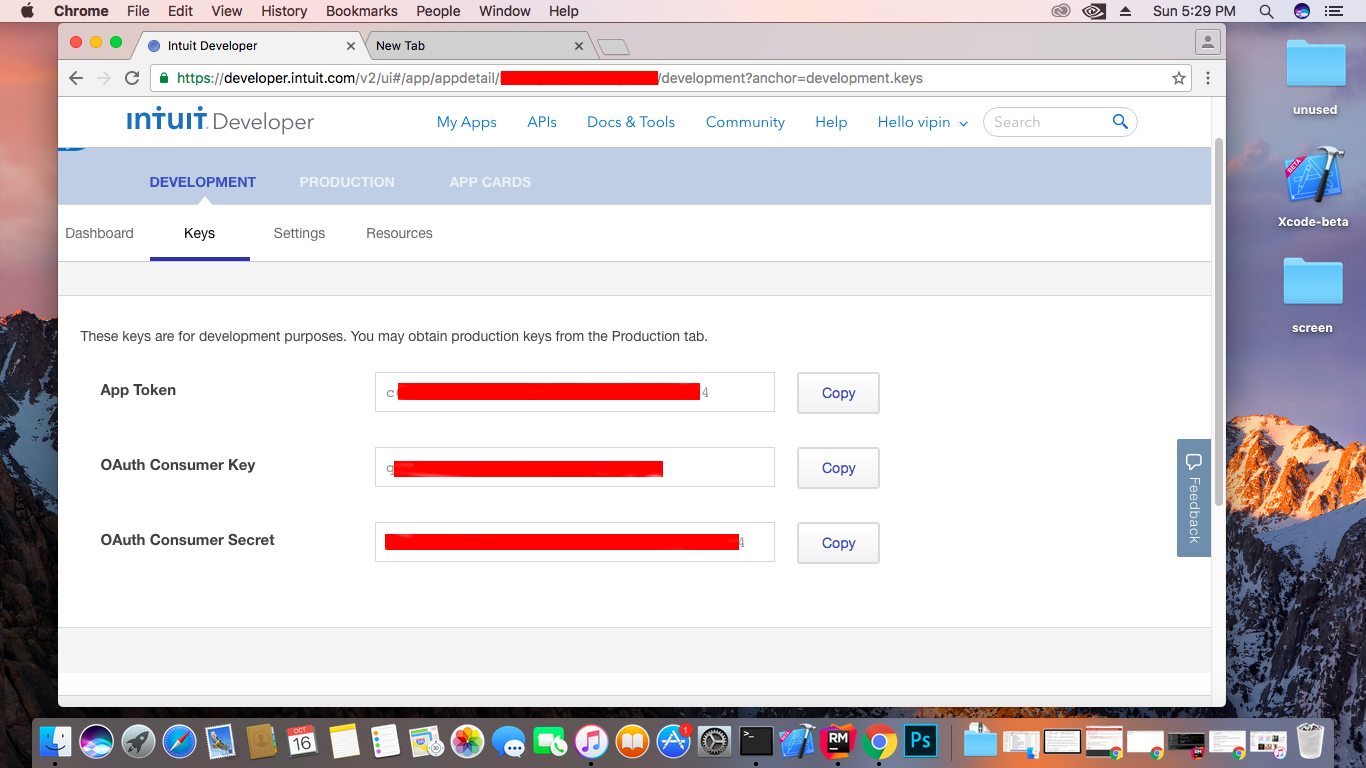
After click this will show you , your newly app keys App Token, OAuth Consumer Key and OAuth Consumer Secret. These keys are important because by using these keys we will connect to Quickbooks Online Auth API.
Rails Integration:
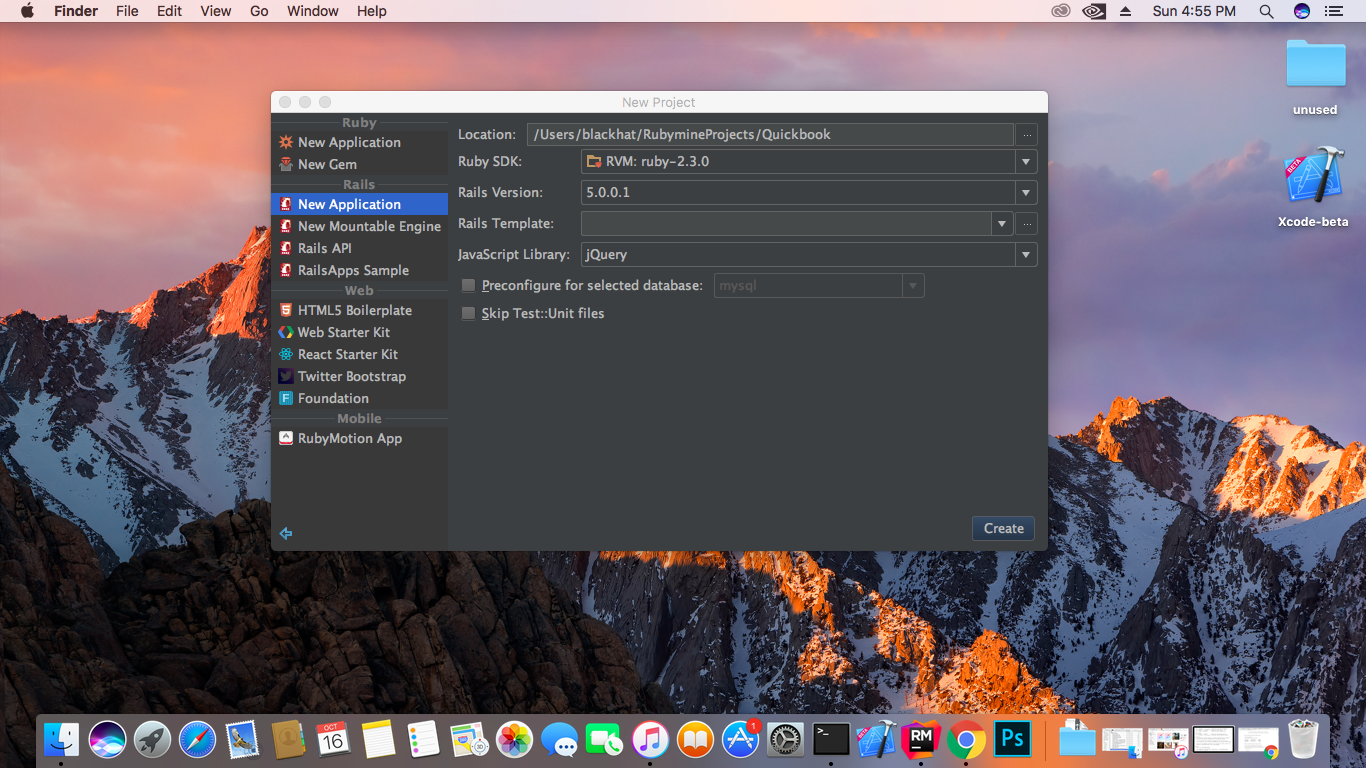
Now we will make new Rails 5 Application. In this i am using Rubymines IDE but you can use any of other editor like Atom, Sublime, Vim or Gedit.
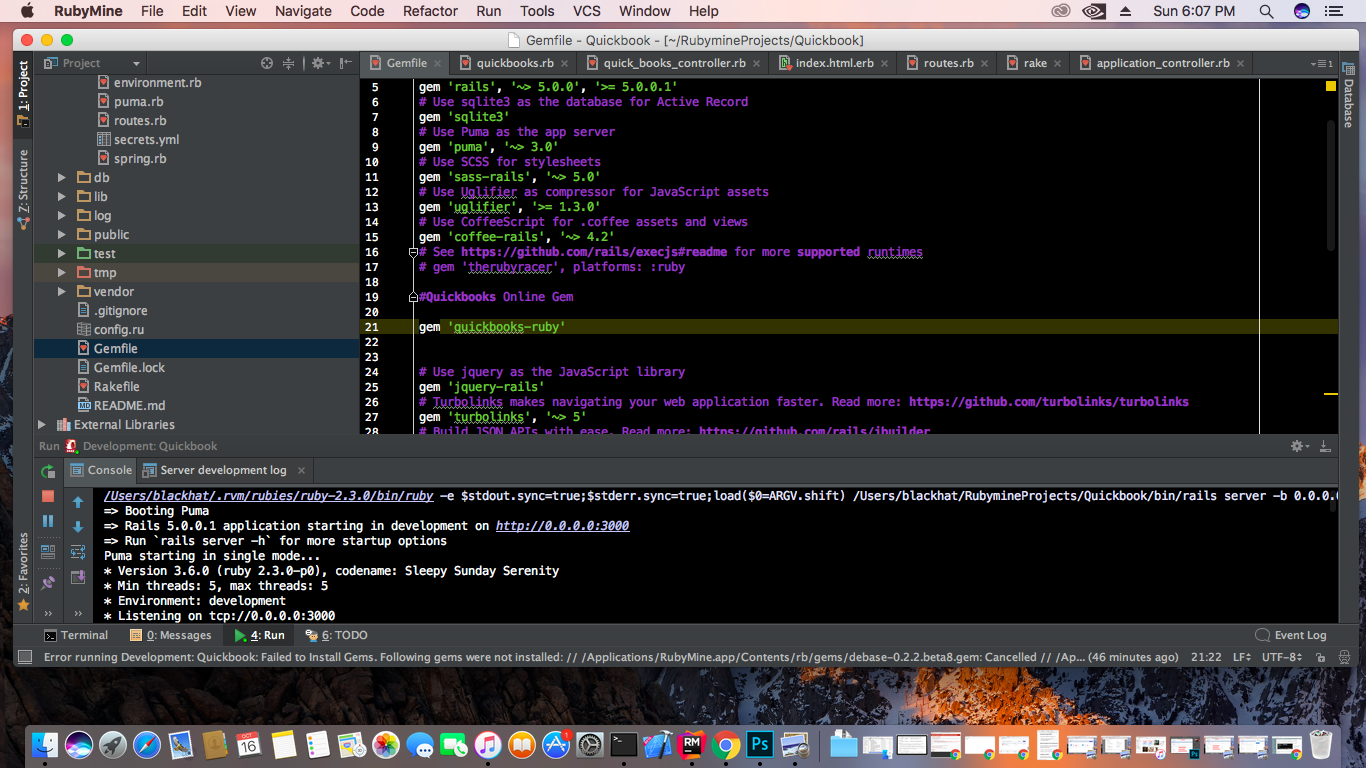
 firstly insert gem ‘quickbooks-ruby’ into Gemfile and run Bundle Install.
blackhats-iMac:Quickbook blackhat$ bundle install
 now we make an initializer that initialize Quickbooks consumer token and secret and url. All initializer file inside the initializer folder placed in Config/ directory.
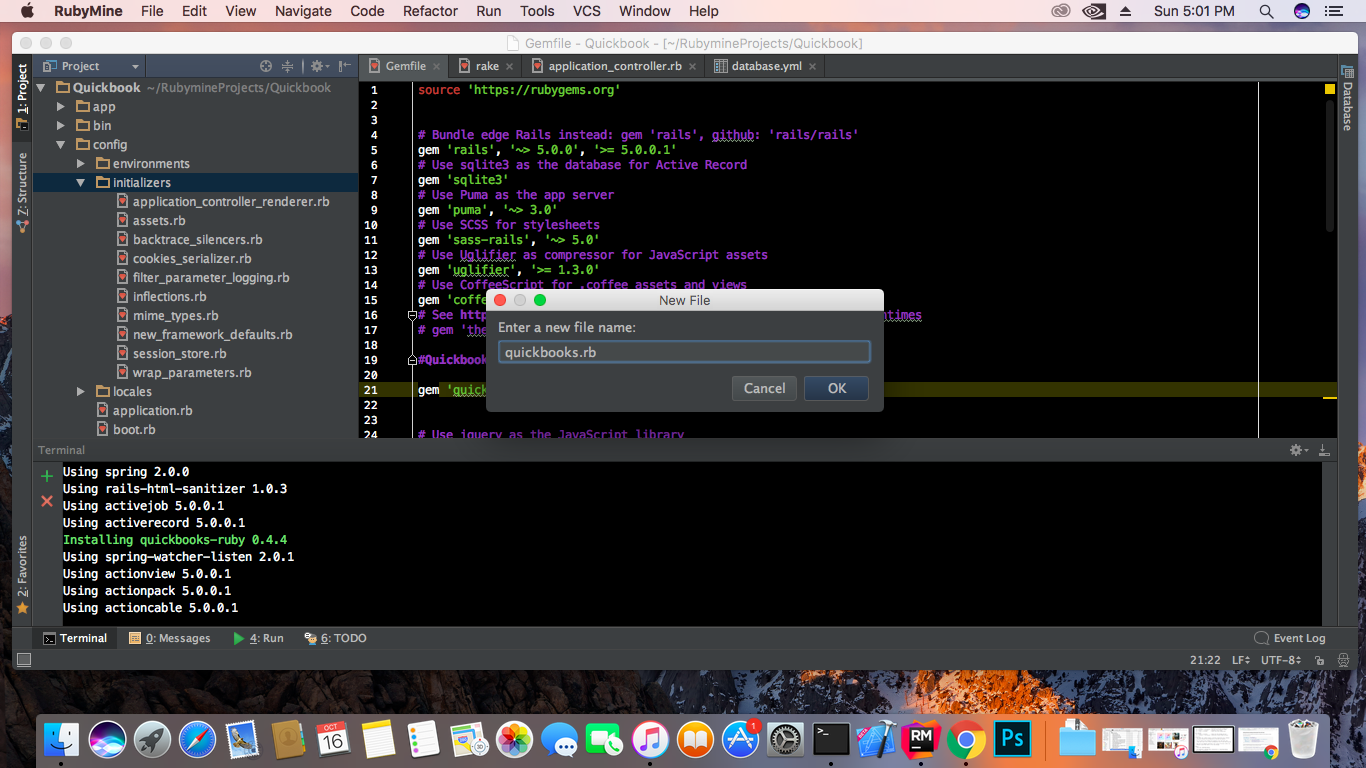
In above quickbooks.rb (initializer) file put this code.
OAUTH_CONSUMER_KEY = "XXXXXXXXXXXXXXXXXX"
OAUTH_CONSUMER_SECRET = "XXXXXXXXXXXXXXXXXXX"

::QB_OAUTH_CONSUMER = OAuth::Consumer.new(OAUTH_CONSUMER_KEY, OAUTH_CONSUMER_SECRET, {
    :site                 => "https://oauth.intuit.com",
    :request_token_path   => "/oauth/v1/get_request_token",
    :authorize_url        => "https://appcenter.intuit.com/Connect/Begin",
    :access_token_path    => "/oauth/v1/get_access_token"
})
insert you consumer key and secret into this file.
Make Rails Controller:
Now, make a controller name as Quickbooks. In this case we make a controller by using command
blackhats-iMac:Quickbook blackhat$ rails g controller QuickBooks
now place the whole code into you Quickbooks Controller Quickbook/app/controllers/quick_books_controller.rb
class QuickBooksController < ApplicationController def index end def create_customer @customer_service = Quickbooks::Service::Customer.new access_token = OAuth::AccessToken.new(QB_OAUTH_CONSUMER, session[:token], session[:secret] ) @customer_service.access_token = access_token @customer_service.company_id = session[:realm_id] # realm_id is your company_id customer = Quickbooks::Model::Customer.new customer.given_name = "test" # Customer Name (Unique) customer.email_address = "[email protected]" # Customer Email @customer_id = @customer_service.create(customer) if(!@customer_id.blank?) self.create_invoice(@customer_id) # Call Invoice Create Function end end def authenticate callback = quick_books_oauth_callback_url token = QB_OAUTH_CONSUMER.get_request_token(:oauth_callback => callback)
    session[:qb_request_token] = Marshal.dump(token)
    redirect_to("https://appcenter.intuit.com/Connect/Begin?oauth_token=#{token.token}") and return
  end

  def oauth_callback
    at = Marshal.load(session[:qb_request_token]).get_access_token(:oauth_verifier => params[:oauth_verifier])
    session[:token] = at.token  # Insert Quickbooks Access token into Session
    session[:secret] = at.secret # Insert Quickbooks Secret into Session
    session[:realm_id] = params['realmId'] # Insert Company ID into Session
    self.create_customer()  # Call Create Customer Function
    self.destory_sesssion() # Destroy the Current Session
    redirect_to root_url
  end

  def create_invoice(customer)
    access_token = OAuth::AccessToken.new(QB_OAUTH_CONSUMER, session[:token], session[:secret] )
    invoice = Quickbooks::Model::Invoice.new
    invoice.customer_id = customer.id # Customer Id
    invoice.txn_date = Date.civil(2016, 10, 04) # Date of Invoice
    invoice.doc_number = "38" # my custom Invoice # - can leave blank to have Intuit auto-generate it
    line_item = Quickbooks::Model::InvoiceLineItem.new
    line_item.amount = 50  # Item Price
    line_item.description = "My Cute Baby" #Item Description
    line_item.sales_item! do |detail|
      detail.unit_price = 50 # Unit Price
      detail.quantity = 1 # Quantity Details
      detail.item_id = 1 # Item ID here
    end
    invoice.line_items << line_item
    service = Quickbooks::Service::Invoice.new
    service.company_id = session[:realm_id]
    service.access_token = access_token
    created_invoice = service.create(invoice)
    invoice = service.fetch_by_id(created_invoice.id)
    raw_pdf_data = service.pdf(invoice)

    # make invoice heard copy in public folder

    File.open("invoice.pdf", "wb") do |file|
      file.write(raw_pdf_data)
    end
  end

  def destory_sesssion  # Destroy All Session Variable after use
    session[:token] = nil
    session[:secret] = nil
    session[:realm_id] = nil
  end

end
make a view helps to connect Quickbooks Online.
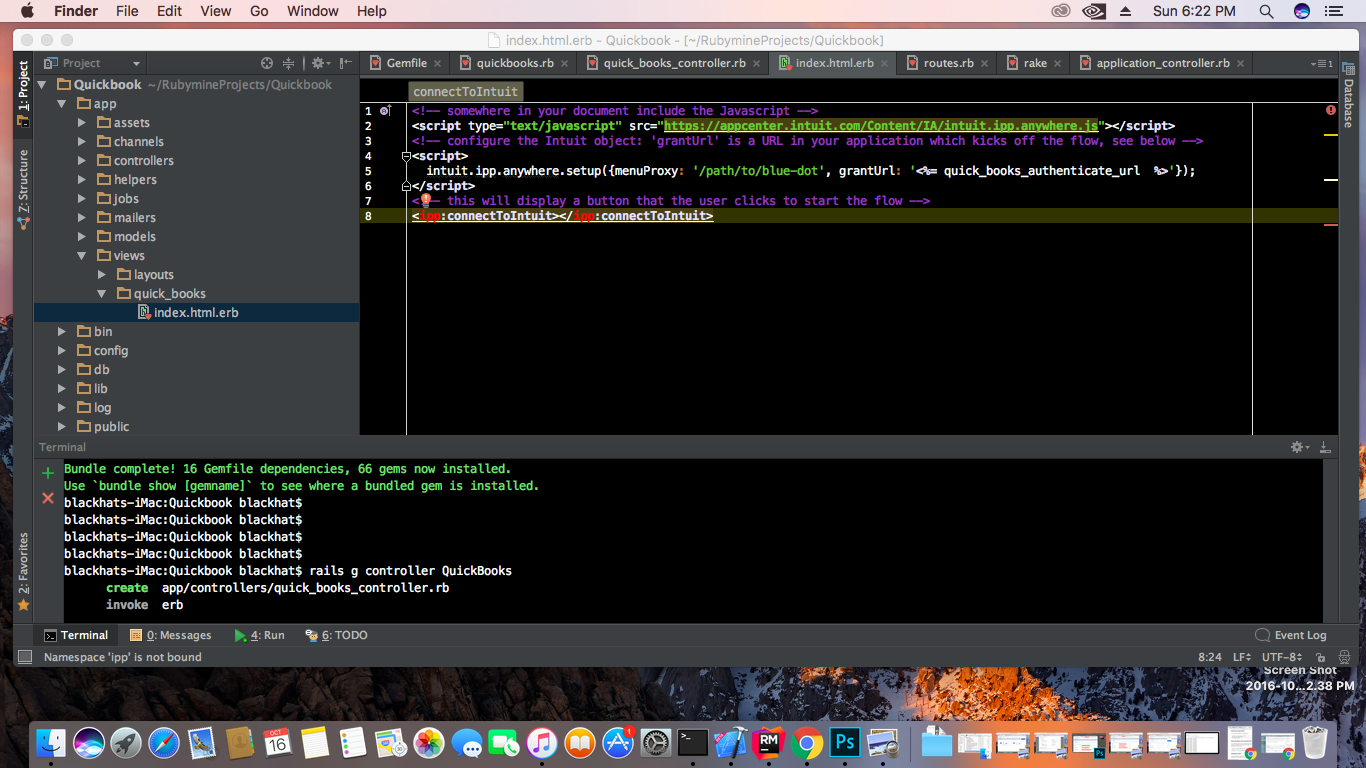
after complete the whole thinks, make controller routes that will identify which controller can be hit with this path URL like (http://localhost/auth).
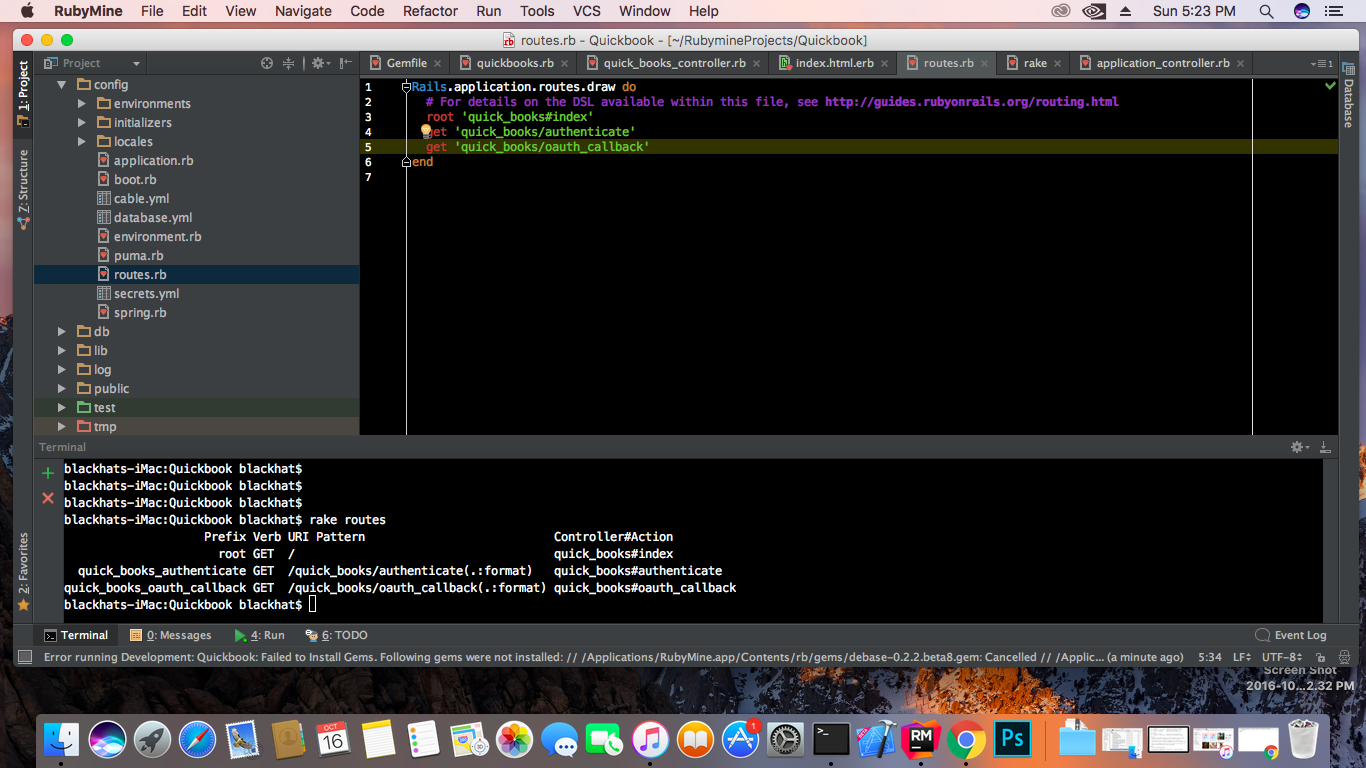
you can check your route is perfect or not by using this rake command.
blackhats-iMac:Quickbook blackhat$ rake routes
this rake command show list of all routes as you define correct otherwise this give an error.
Run Rails Server
Now you can run you Rails application with
blackhats-iMac:Quickbook blackhat$ rails s
and open your browser hit URL: localhost:3000.
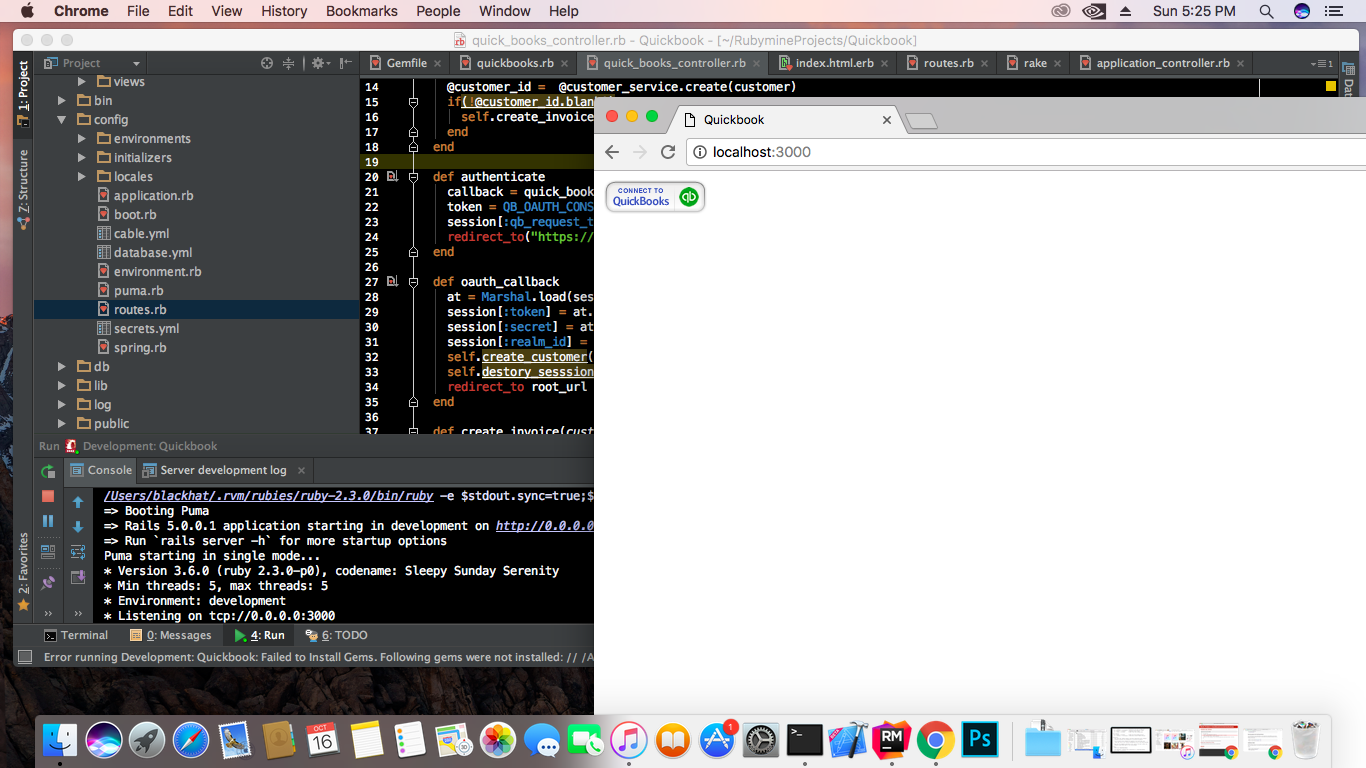
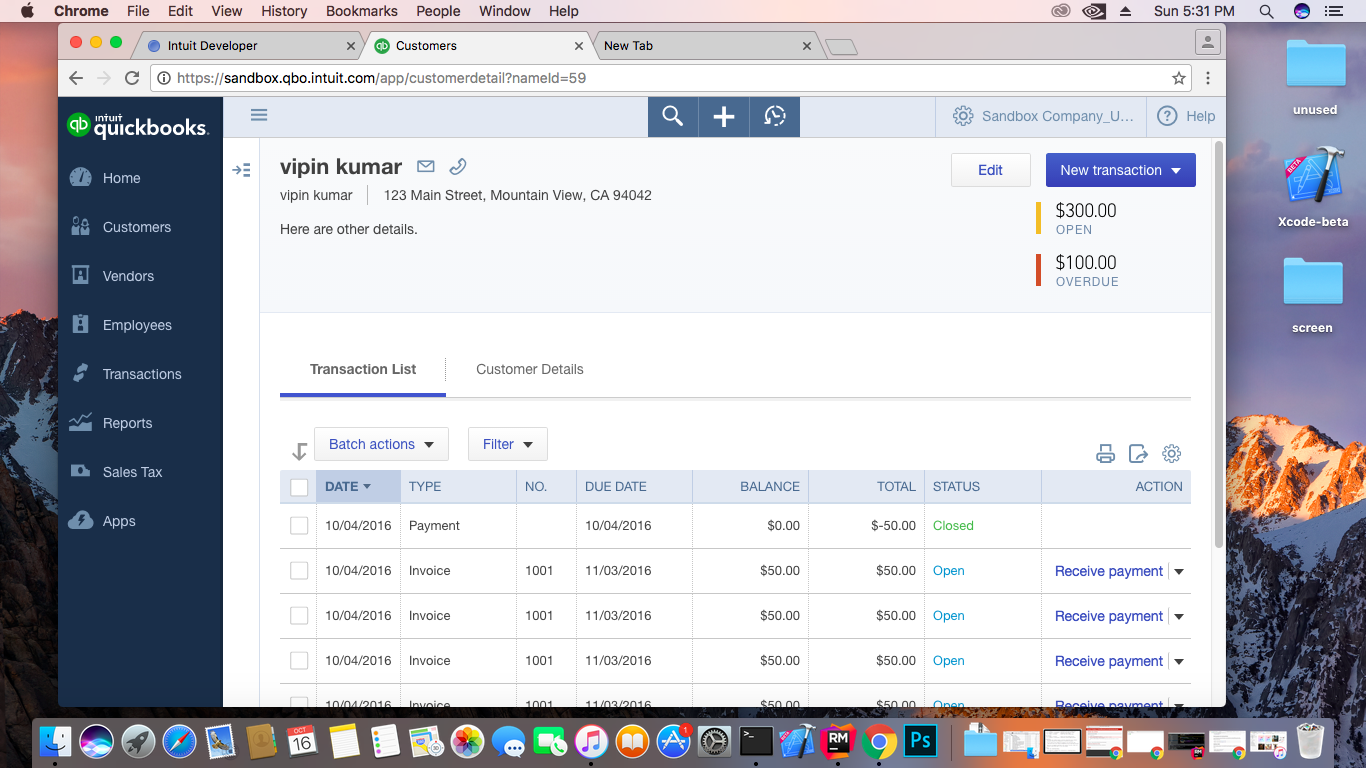
Click to Connect to Quickbooks button and enter your login Credentials, authorize with your app and this will automatically create a new customer and invoice.
Enjoy and Let us know if any problem with Quickbooks with Rails 5.
for more information about Quickbooks goto Official website: https://developer.intuit.com/
for more information about Rails goto Official website: http://guides.rubyonrails.org/
Have something to add in QuickBooks with Rails 5?? Please share in comments.
Follow us for more reviews, tutorials and tech news on Facebook, Google Plus and Twitter.


